Most H5P modules are very easy to set up. Drag&Drop is not one of them!
If you follow the steps below, your drag & drop module will soon be ready.
How To:
Preparation
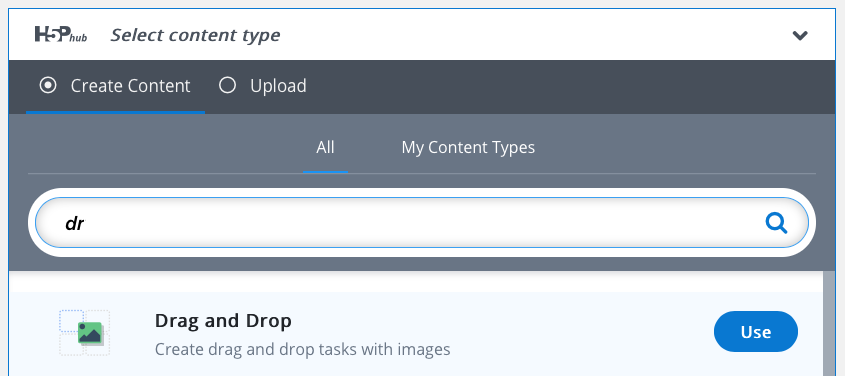
- Go to H5P Content > Add New. Choose Drag and Drop, click (‘Install’ and) ‘Use’.
- Enter a title and add a background image.
- Move to ‘Task’ (step 2).
Dropzones and text elements
- Define all your dropzones.
- Define all your text elements (draggable items).
- Check all the dropzones that the text element could go into (not just the correct one).
- Go back to every dropzone and check the correct answer.
- Also check ‘Enable Auto-Align’ (it’s just nicer).
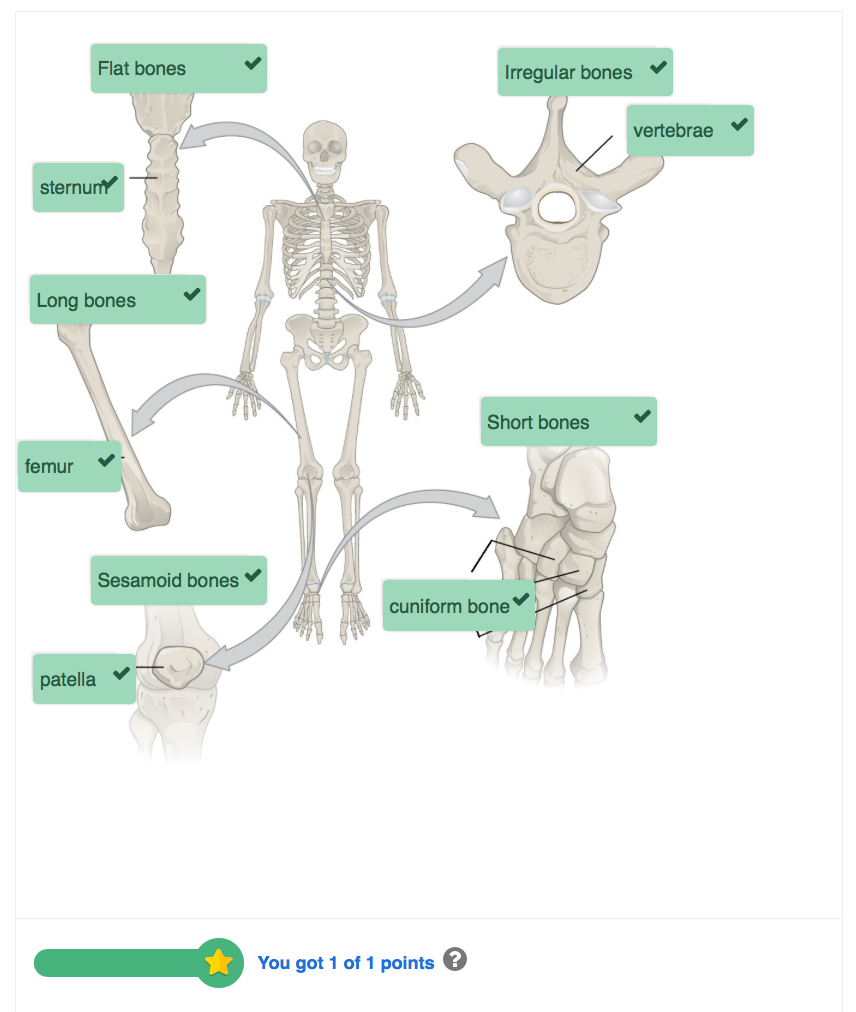
If you want, you can have different groups of text and dropzones, like in the following example.
In the following picture, there are two groups. One defines a category of bones (wider drop zones), the second are examplary bones for that category.
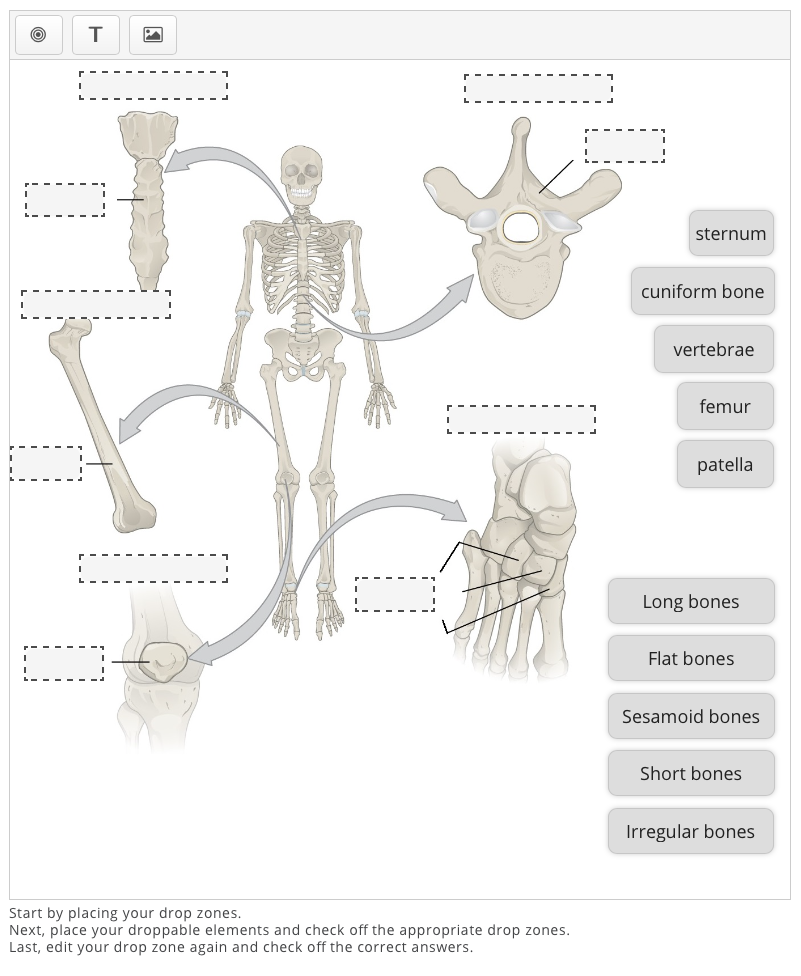
The first step is to define all the drop zones.
![]()
Then define the text elements (draggable items).
![]()
When defining your draggable items, check all the zones where the item could be dropped.
This is wrong!
When defining the text (draggable items) and only choosing one drop zone, readers will only be able to drag the draggable item to the one corresponding dropzone, which takes all the fun out of it!

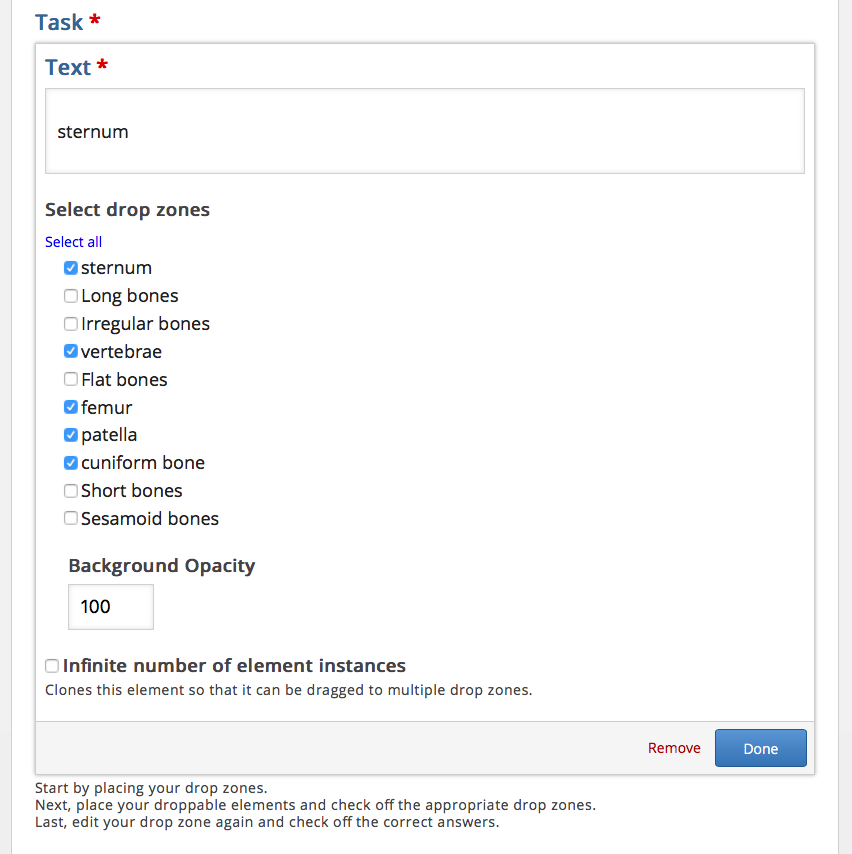
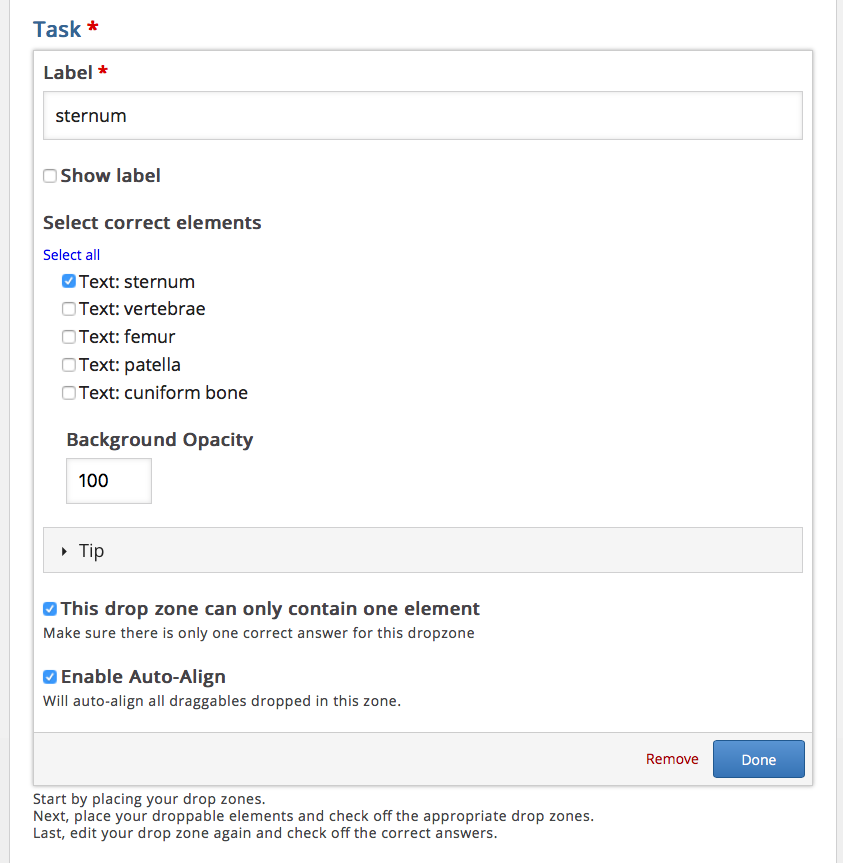
When you are done defining all draggable items (with all their possible dropzones), go back to every dropzone (by clicking and editing them) and choose the correct item. Also check ‘Enable Auto-Align’.
Bravo, you’re done!