In this chapter you will learn about:
- The polybook dashboard
- Editing the title page of your polybook
- Adding content to your polybook
Once you enter your PolyBook you will see this screen (or something very similar):
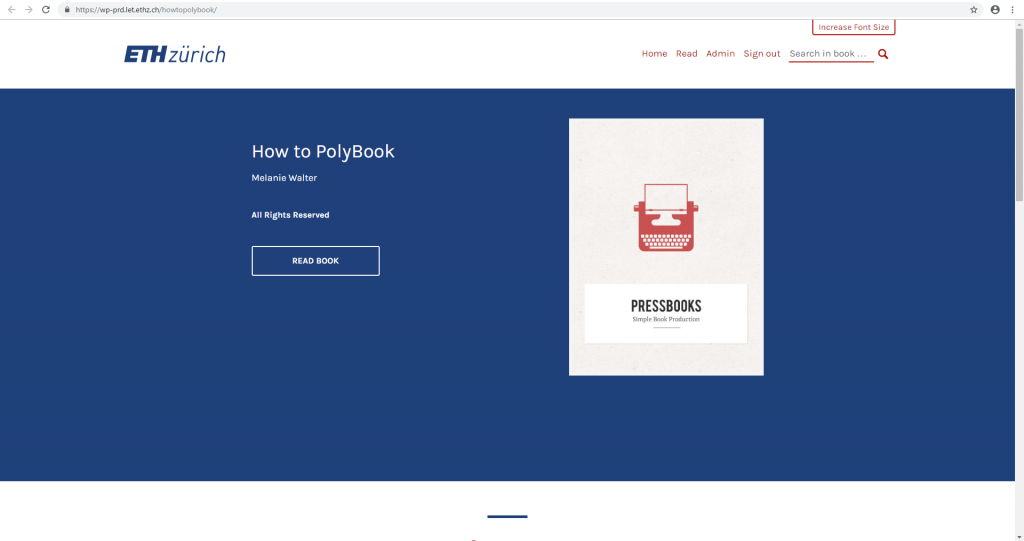
This is the title page of your PolyBook. You can add additional information or change the title picture of the PolyBook (will be explained later on).
Students can enter the PolyBook by clicking „Read Book“, or by scrolling down and choosing a specific chapter from the table of contents (provided you entered any content previously, so let’s get to that).
2.1 – Add Content to Polybook
On the title page you see an „Admin“ button in the upper selection bar (the browser window needs to be on full screen to see that) . Click on this and you will be taken to the PolyBook dashboard, from where you can fill your PolyBook with content.
Once you have done this you should see this screen:
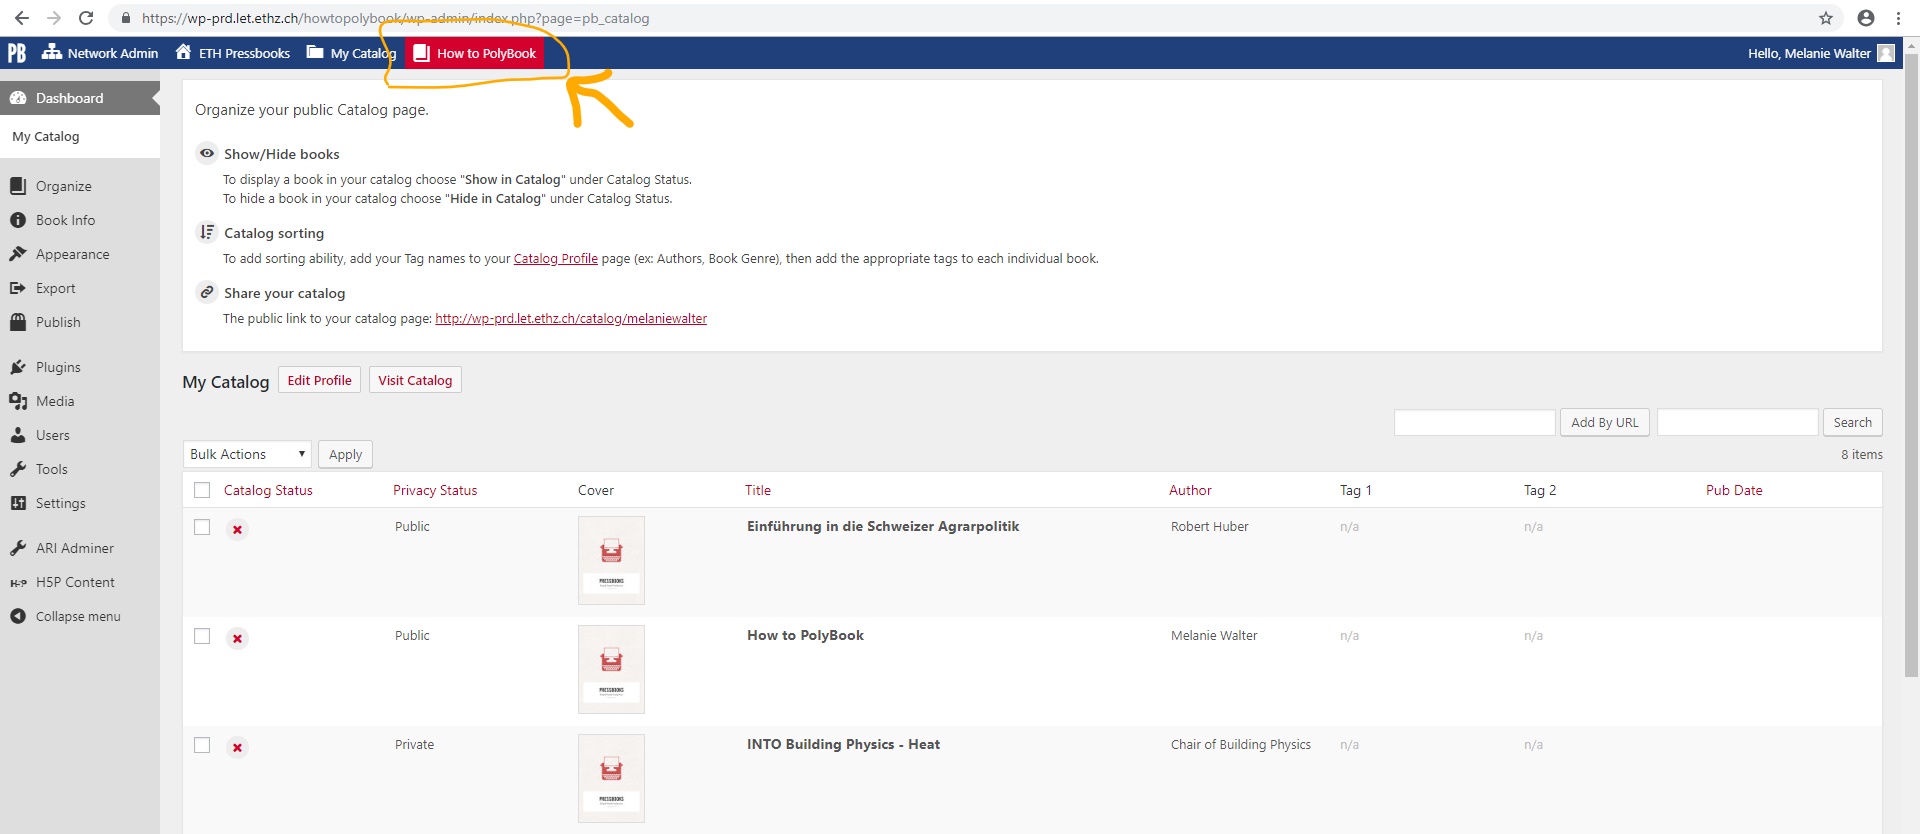
This is the PolyBooks dashboard. On top you see the name of your book. You can also choose „My Catalog“ to navigate to your other books.
But right now we want to fill your PolyBook with content. So click on „Organize“ in the left hand menu.
To change the information and title picture of your polybook, go to „Book Info“ in the left hand menu.