PolyBook is a Weblog platform from ETH Zürich which is connected to it’s central LMS – Moodle.
As a lecturer you can create a PolyBook by activating the EDIT Mode in your Moodle course and then choosing „add an activity or resource“. You will be presented with the „add an activity or resource“ context menu, where you can choose several Moodle activities and resources, among them „PolyBook (eCollab)“.
First: turn editing on
Second: choose where to create your PolyBook and click „Add activity or ressource“, choose „PolyBook (ecollab)“ and click „Add“.
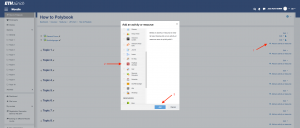
If you do so you can enter a name for your PolyBook in the next Screen. The final name of your PolyBook will consist of what you enter here, preceded by the name of your Moodle course. You can also add a description of your PolyBook (and make other adjustments).
Then click on „Save and return to course“.
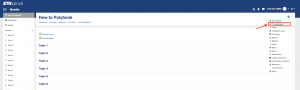
Now click on the name of your PolyBook in your Moodle course (this should open a new window) and here’s your PolyBook. Students who click on the PolyBook activity in Moodle will be added to your PolyBook with an account corresponding to their NETHZ-account. If you want to, you can enable the students to work on PolyBooks among themselves, or add to and edit your PolyBook. More on this in the User Roles section.
If you want to know how to open up a new Moodle course: see here