11..1 – Uploading Files when needed
nbgitpuller always synchronises your students’ workspaces with the entirety of the repository you created. There is no way to cherry-pick which files you’d like them to have access to. Consequently, if you want your students to gain access to certain files incrementally (such as assignment files at specified dates), you may want to upload those necessary files as they become relevant, rather than everything at the beginning of the semester.
11..2 – Working with Branches
An alternative to uploading your files at the exact moment you need them are branches. Branches allow you to work on your repository in parallel, with each branch representing an independent state of your repository’s contents. You can read more about them on git’s official introduction to branches.
Because nbgitpuller only pulls the branch you specified during initial setup (usually “main” or “master”), you can think of your main branch as the state of your lecture contents as your students should see them, and prepare assignments or future content in other branches, which will be inaccessible from JupyterHub. The option to create a new branch is accessible from the same submenu as uploading a new file:
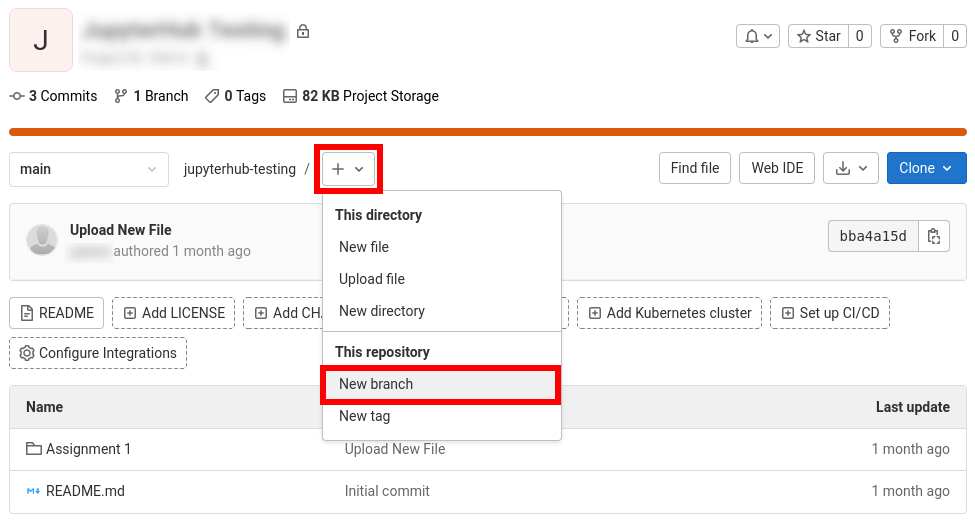
Think of a purpose for the branch you’re about to create, such as a specific lecture week or assignment. Then, create a new branch from your main branch and give it a descriptive name. Verify that you’re working on your newly created branch, then make changes and upload files you want to associate with the purpose of this branch.
In the example below, we created a new branch called “Assignment2”, created a new folder with the same name and prepared some files inside that folder which the students will need for that assignment.
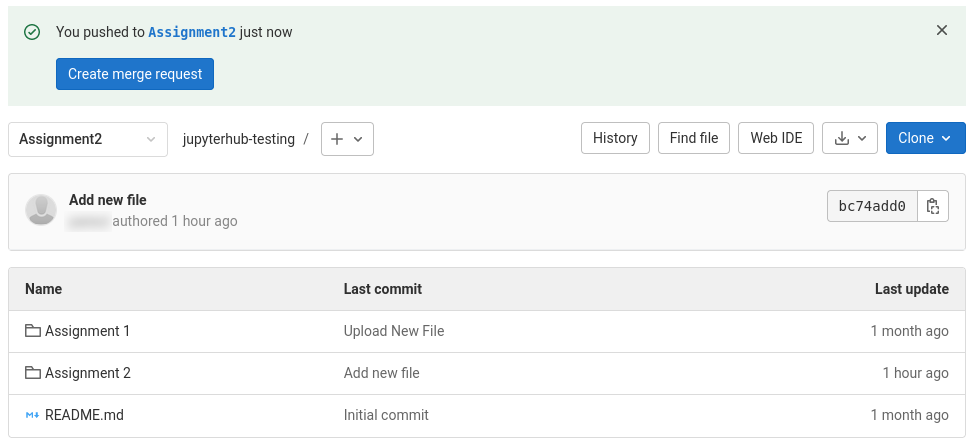
Once all your files are in place, you can leave this branch be until the time comes when you want to use its contents. At that point, you will want to merge this branch into your main branch. Create a new merge request from the menu on the left:
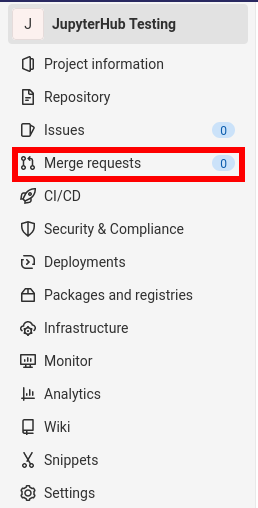
In this menu, start creating a new merge request using the big button at the bottom. This will allow you to select which branch you want to merge into where. For this use case, select the branch you just created as the source branch, and main as the target branch.
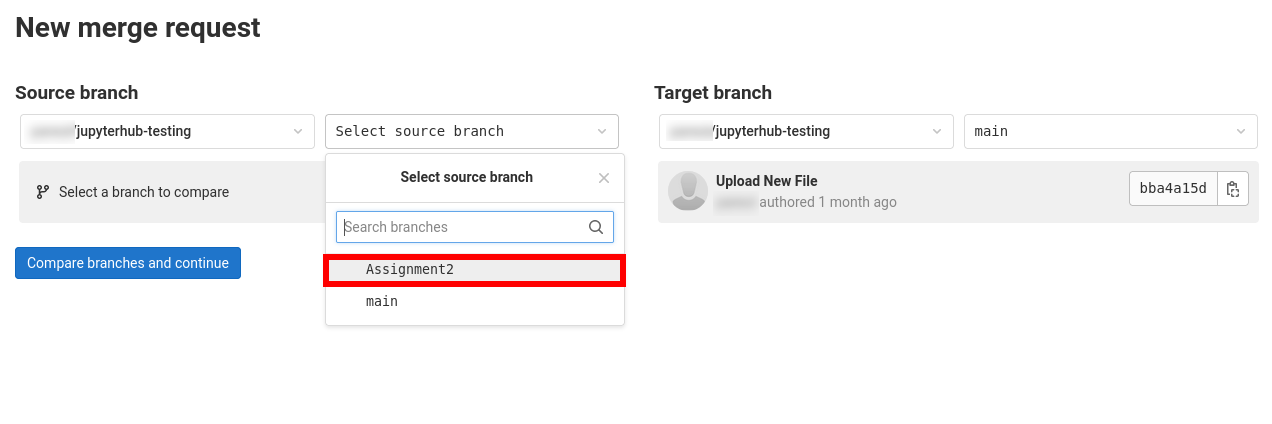
In the next menu, you will be able to specify many detailed settings for the merge request. None of these really matter for our purposes. Just give your merge request a descriptive title and confirm its creation with default settings. This will bring you to its overview page.
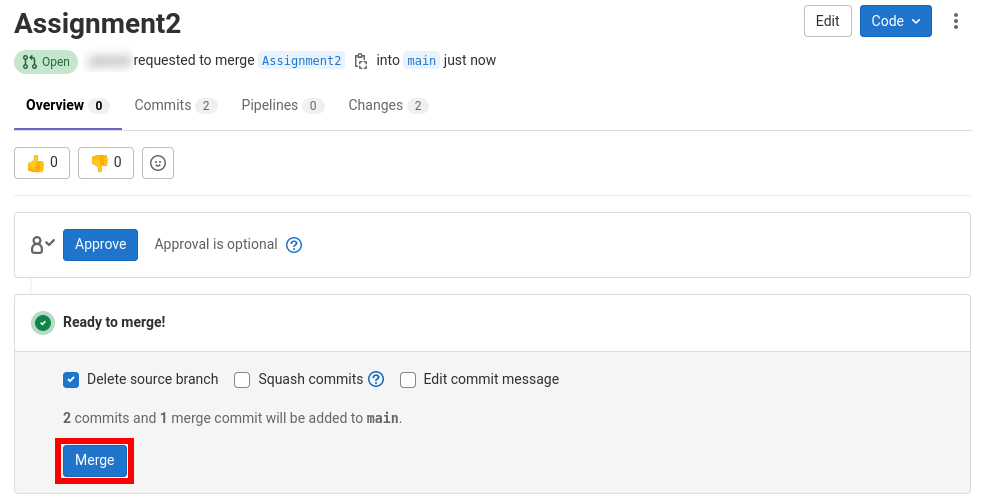
At this point, as soon as you click the “merge” button at the bottom, your branch will be merged into main and the files will start showing up for your students the next time they click the link to JupyterHub.
Preparing Merge Requests in Advance
Assume you are planning to create several different assignments throughout the semester. One thing you can do to lower the workload required during the semester is to create each assignment in its own branch in advance, and then also immediately create a merge request for each branch. You can leave the requests be until you need the content from that branch distributed to your students, and then simply merge them as soon as you need them.
Any changes you make to a branch after a merge request has already been created (but not yet merged) will automatically also become part of the merge request. This allows you to create a merge request at the beginning of the semester and then make some last-minute changes just before you release (merge) the assignment.