This chapter will walk you through everything you need to prepare and create an assigment for your students using Jupyter Notebooks.
Restriction to ETH users
Moodle courses and assigned JupyterHubs are available for users from many different institutions. Unfortunately, Moodle assignments and submissions are restricted to ETH user logins only.
8.1 – Preparing Assignment Files
First things first, it is important to know that assignments using JupyterHub work with folders, not individual files. Therefore, your first step should be creating a new folder for your assignment in JupyterHub.
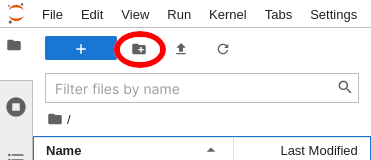
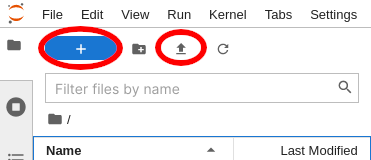
Give this folder a descriptive name and put all files your students will need for the assignment inside it. You can do so either by creating them directly inside JupyterHub using the big blue button, or by uploading them from your computer.
Once all your files are in place, things may look something like this:
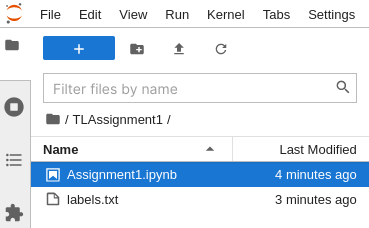
In our example, we have prepared two files. Assignment1.ipynb is a Jupyter Notebook the students are expected to edit and solve, while labels.txt is a small text file they will need to read data from.
Keep in mind, there is a size limit for the assignments and submissions, of about 20-25 MB. The limit is not exactly determinable, because the files are compressed during transfer.
With everything prepared on the JupyterHub side, you are now ready to create your assignment in Moodle.
8.2 – Creating the Assignment
At the top of the page of your Moodle course, turn editing on.

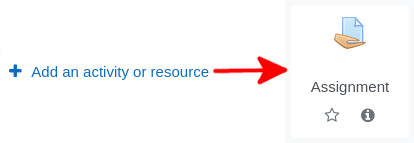
Next, click “Add an activity or resource” in a preferred location in your course, and choose “Assignment”.
Name your assignment and set any deadlines as you need them. In the submenu “Submission Types”, tick only Jupyter Notebooks. By default, file submissions are also possible; it is recommended you turn this option off to prevent your students from handing in a plethora of colorful file types.
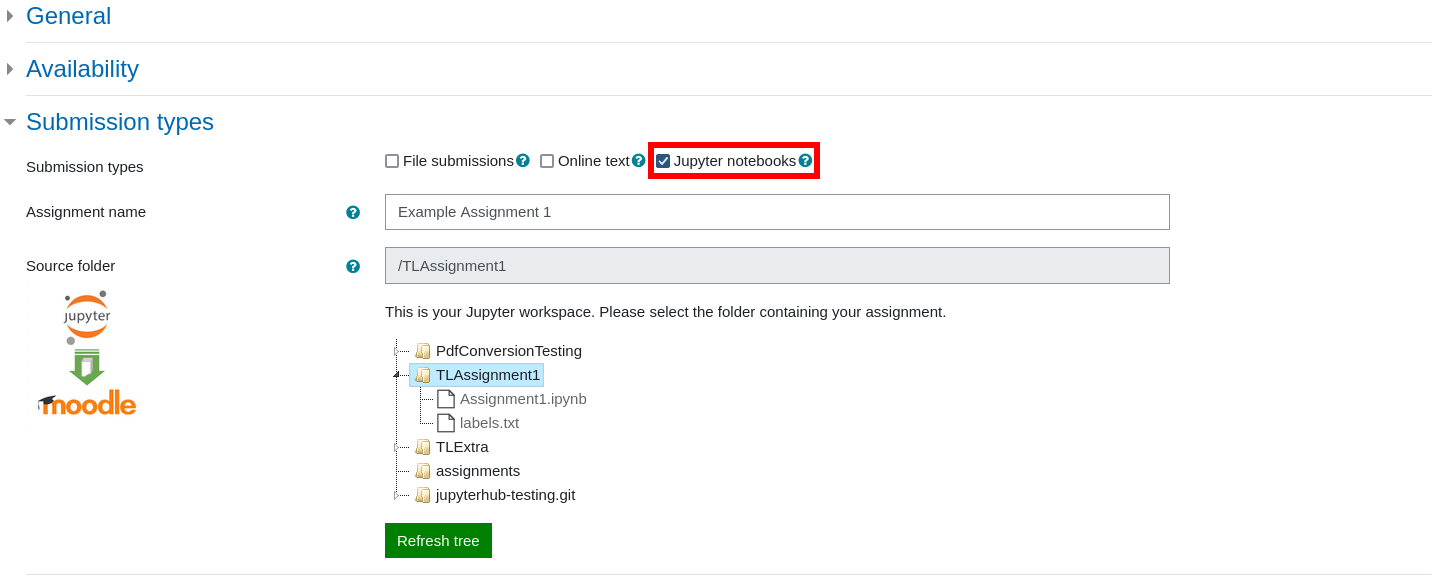
The name you give your assignment here is the name that will be used inside JupyterHub. It is a good idea to keep it consistent with the overall assignment name used in Moodle. Underneath the name you’ll see all the contents of your Jupyter workspace. This is where you choose which files to associate with this assignment. Note that you are unable to select individual files. Instead, choose the assignment folder you created earlier and continue.
Organizing Directory Structure
As a best practice pattern the directory structure for assignments should separate different assignments from each other as well as data files.
Please also read how to separate data from submission files concerning a good directory structure for submissions.
In the next submenu, it is recommended that you tick Jupyter Notebooks here as well.

Checking this option will later enable you to add comments and feedback directly in your students’ notebooks. You may also choose whatever other options are convenient for your grading workflow. It is always possible to change your selection later, even once students have finished handing in their assignments.
Finally, change any other options to suit your needs and save your assignment.
Changing Assignment Files
When you create an assignment using JupyterHub, Moodle takes a snapshot of the files as they are at the moment you create the assignment. If you change something in the files used for the assignment in your JupyterHub, these changes will not be reflected in the files your students can download for the assignment. The only way to change them is to delete and re-create the assignment in Moodle. If you expect your assignment files to change frequently, using a git repository may be a solution for you.